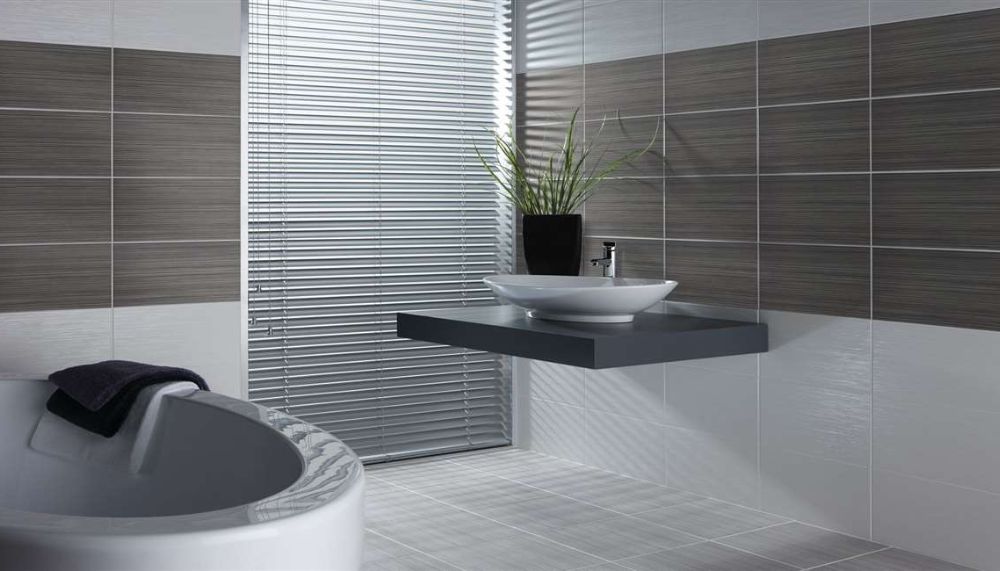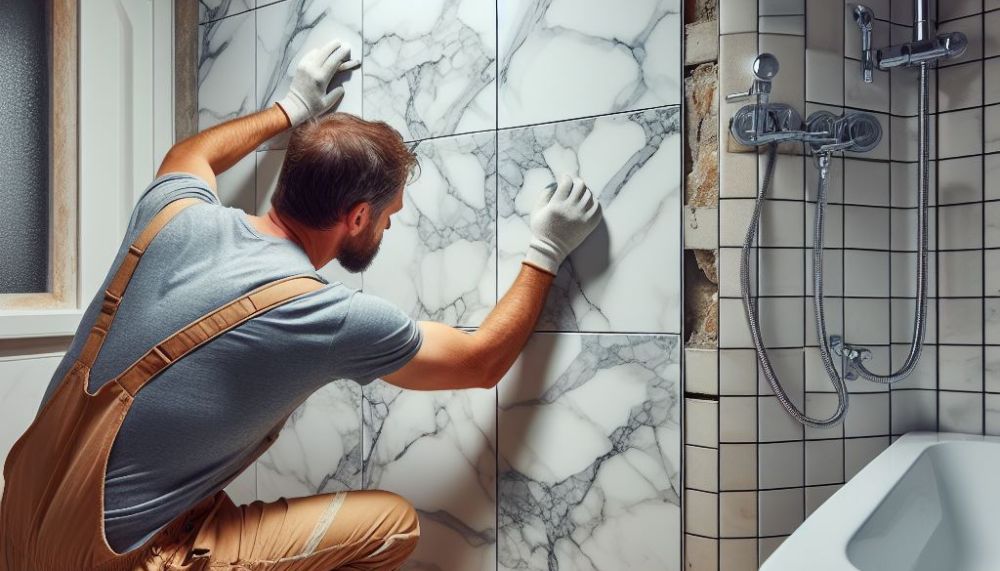
When it comes to home improvement projects, tiling a bathroom is undoubtedly one of the most rewarding endeavors.
A well-tiled bathroom enhances the aesthetic appeal of the space but also adds value to your home.
If you’re a DIY enthusiast or a first-time tiler, the comprehensive guide will walk you through the essential tips for achieving successful bathroom tiling. The project leaves you with stunning and long-lasting results.
A Comprehensive Guide on Successful Bathroom Tiling
1. Planning and Preparation
Measure Twice, Cut Once: Before diving into the tiling process, meticulous planning is crucial. Accurate measurements of the bathroom's dimensions will help you calculate the amount of tiles needed, minimizing wastage and cost.
Design and Layout: Consider the layout and design you want to achieve. Experiment with different tile patterns and arrangements to visualize the final look. Planning the layout ensures a cohesive and aesthetically pleasing result.
2. Surface Preparation
Clean and Level Surface: Ensure the bathroom surface is clean, dry, and level before tiling. Any imperfections or debris can affect the tile's adherence and the overall finish.
Priming: Applying a primer to the surface before tiling helps improve the adhesive bond and prevents moisture from seeping through the tiles.
3. Tile Selection and Layout
Choose Appropriate Tiles: Select tiles that are suitable for bathroom environments. Porcelain or ceramic tiles are often recommended due to their durability and water-resistant properties.
Test Layout: Before applying adhesive, lay out the tiles on the floor or wall to get a sense of how they will look. Adjust the layout if necessary to avoid tiny, awkward tile cuts.
4. Proper Adhesive Application
Use the Right Adhesive: Different types of tiles require specific adhesives. Ensure you're using the correct adhesive for your chosen tiles and the bathroom environment.
Apply Adhesive Evenly: Use a notched trowel to apply the adhesive evenly on the surface. This prevents air pockets and ensures a solid bond between the tiles and the substrate.
5. Grouting Techniques
Choose Grout Wisely: Opt for a grout that is resistant to moisture and mold. Epoxy or acrylic-based grouts are excellent choices for bathroom tiling.
Grout Application: Apply grout diagonally using a rubber float, pressing it into the gaps between tiles. Ensure to wipe off excess grout with a damp sponge or cloth before it dries.
6. Cutting and Shaping Tiles
Invest in Quality Tools: A tile cutter or wet saw is essential for accurate and clean tile cuts. Professional results are obtained when investment is laid in quality tools.
Safety First: Wear safety goggles and gloves when cutting tiles to protect yourself from sharp edges and debris.
7. Sealing and Finishing
Seal Porous Tiles: Porous tiles, like natural stone, should be sealed before grouting to prevent staining. Apply a penetrating sealer and allow it to dry before continuing.
Finishing Touches: Pay attention to the edges and corners of the tiling area. Use tile trims or bullnose tiles for a neat and polished finish.
8. Allowing Proper Drying Time
Patience is Key, After tiling and grouting, allow sufficient time for everything to dry and cure. One must never compromise the integrity of the installation or rush at any step.
9. Attention to Detail
Alignment and Spacing: Maintain consistent spacing between tiles, and ensure they are aligned correctly. Small deviations can accumulate and result in an uneven overall appearance.
Check for Lippage: The unevenness between adjacent tiles is referred to as lippage. To achieve a smooth surface and reduce lippage, use a leveling system.
10. Regular Maintenance
Clean Regularly: Clean your tiled surfaces timely with mild, non-abrasive cleaners to prevent the accumulation of soap scum, mildew, and grime.
Inspect Grout: Inspection of the grout on within a specific time period for symptoms of cracking or deterioration must work well. Repair any damaged grout as soon as possible to prevent water ingress.
A creative project that involves bathroom tiling that demands meticulous planning, execution, and attention to detail. Following simple guidelines assures a successful bathroom tiling, which increases the appearance of your area but also lasts.
Conclusion
Remember that patience and good technique are essential for attaining professional-looking results, and the sense of success you'll feel after transforming your bathroom will make all your efforts worthwhile. Roll up your sleeves in a dramatic effect, get your tools, and set off to build a gorgeous tiled masterpiece in your bathroom!
We believe that rigorous planning and preparation are the foundation of any outstanding tiling project. As proven by its persistent dedication to perfection, its meticulous approach reveals its expertise. This excels in guiding homeowners and do-it-yourselfers with the delicate procedures of surface preparation, tile selection, adhesive application, and grouting techniques.
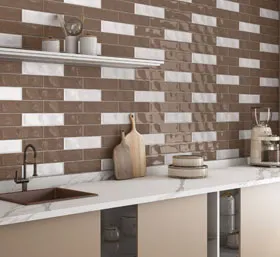
Check out our subway bathroom tiles collection.


