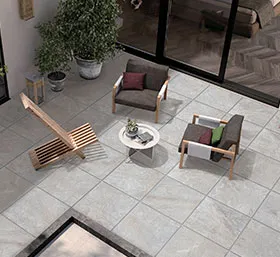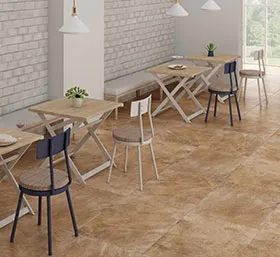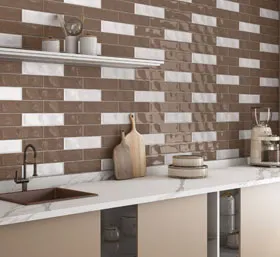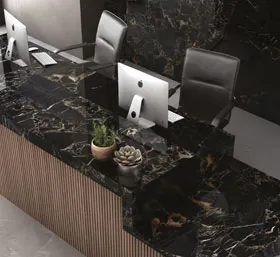
Do you love to be updated with modern interior decor trends and insights? If yes, then you must have heard about the beauty of glazed vitrified tiles and their surging popularity among homeowners.
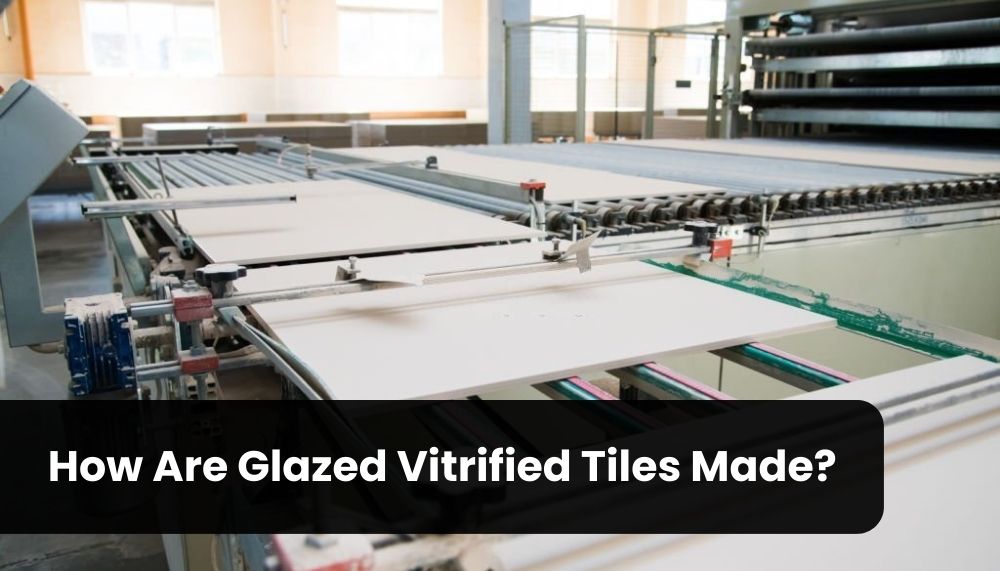
These tiles are setting the benchmark of unparalleled beauty and impeccable durability. But being a decor lover do you know how these tiles are manufactured? Today, we are going to take you into the world of glazed vitrified tiles manufacturing.
Behind The Scene: Manufacturing Of Glazed Vitrified Tiles
1. Raw Material Selection
The first step includes the selection of quality raw materials to ensure the longevity and durability of tiles. Manufacturing of glazed vitrified tiles requires natural raw materials such as clay, feldspar, silica, dolomite, calcite, and talc.
Unlike marbles, a glazed vitrified tiles manufacturer doesn't use any kind of earthy stones during the process. After collecting the supplies, the QC team inspects the quality of raw materials and gives the green flag for next steps.
2. Preparing The Mixture
In the next step, the raw materials are crushed into fine pieces to create a homogeneous mixture. This process is carried out using a machine known as a ball mill. To maintain consistency, manufacturers add water during the preparation of the mixture. Therefore, the process is called wet milling. Wet milling of the raw materials also makes sure there is no lump formation during the whole process of mixing.
Insider: Dry milling of raw materials can result in trapping air inside the mixture. It can reduce the durability of tiles and cause chipping. Therefore, it is beneficial to choose wet milling for a glazed vitrified tiles manufacturer.
3. Shaping Of Tiles
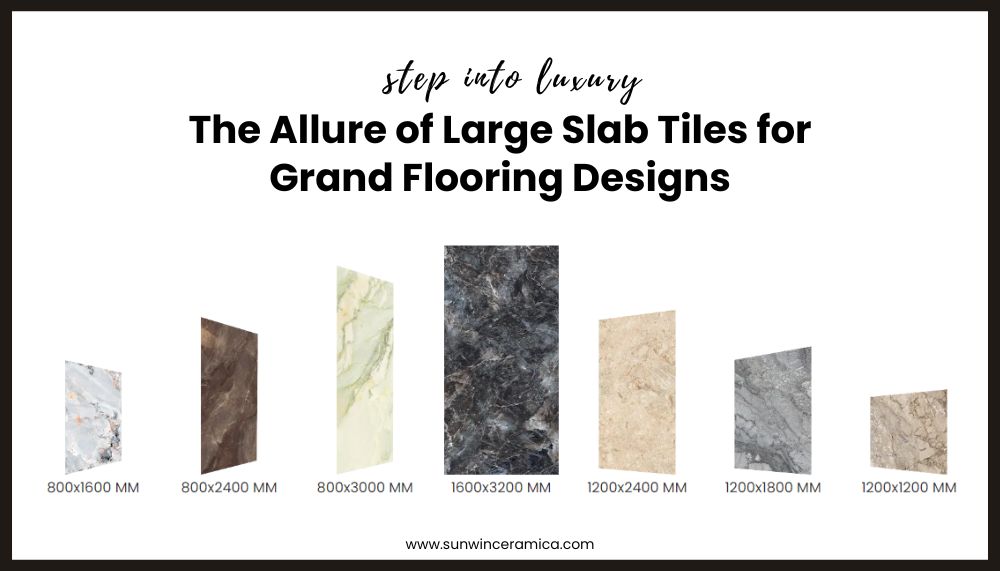
Now when the foundation is prepared, it is time to mold the tiles that will shape your decor in the future. The mixture is passed through a hydraulic press that molds the mixture into desired shapes. Afterward, the premature tiles are ready to be cut into different sizes and layouts. Here is a list of common standard sizes:
- 600x600mm
- 800x800mm
- 800x1200mm
- 1200x1200mm
- 1200x1600mm
4. Drying
After shaping the tiles, the manufacturers put them into a hot air spray dryer to extract the moisture from the tiles to maintain their solid appearance. Drying is a crucial step before glazing as it ensures that the tiles are solidified enough to undergo the hardcore process of glazing and don't chip during the process.
Do you know: The Drying was a hectic and time-consuming process a few decades ago. But thanks to technological advancement, it has now become a hassle-free process with the arrival of spray drying techniques.
5. Vitrification and Glazing
Here comes the most important step that we all are waiting for. It's now time to curate the magical shine above the surface of the tiles. The shine is due to the vitrified layer applied on the top surface of tiles which contains silica as a major component. For a precise layering of the shine, the unglazed tiles are subjected to fire with a layer of silica dust.
Vitrified tiles then go through the glazing process that serves as the signature shine for the tiles. This process is not only important to make the aesthetically perfect but also for curating durable tiles with a non-porous and water-resistant top with, a tough core.
6. Finishing
At the end of the manufacturing, glazed porcelain tiles manufacturers provide the final touch to the tiles and send them for a hardcore inspection process. Tiles that pass the test are ready to deliver and serve your home with beautiful decor.
Wrapping It Up
In summary, the process of manufacturing glazed porcelain tiles from the plant to your home is a journey that includes numerous steps. Every step has its importance and plays a special role in transforming your dream decor into reality.
